3.0 KVIrc Basic Settings

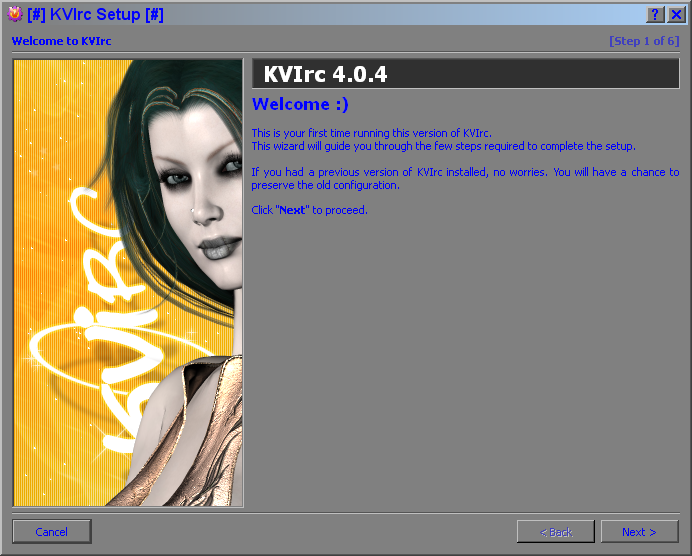
Step 10: The Welcome screen click Next >..
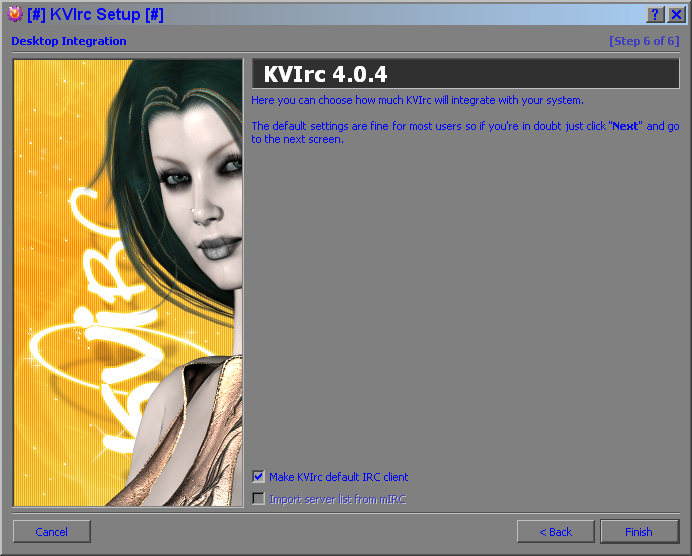
Step 15: Well done click Finish.
<<< Back | Home | Next >>>
| <<< Back | Home | Next >>> |
3.0 KVIrc Basic Settings |
 |
|
Step 10: The Welcome screen click Next >..
 |
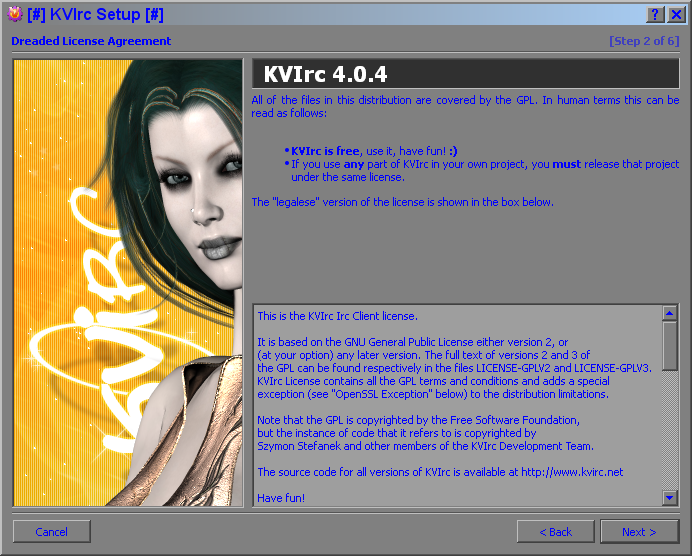
Step 11: Another License Agreement
no one like to read click Next >. |
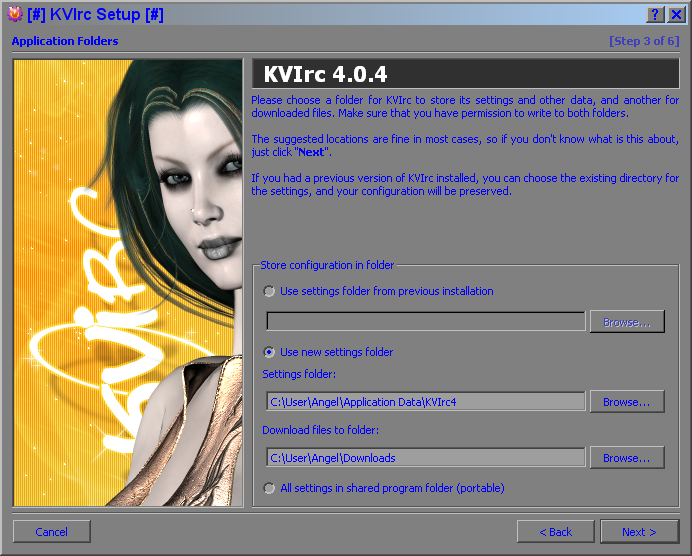
Step 12: The
storage paths. A nice feature of KVIrc is after a installation it
operate complete portable, if you plan to use KVIrc on a USB stick or
use it on different computers you can choose here the point > All
settings in shared program folder (portable). When you want to use it
at another location, just have to copy the installation folder. If
not click Next >. |
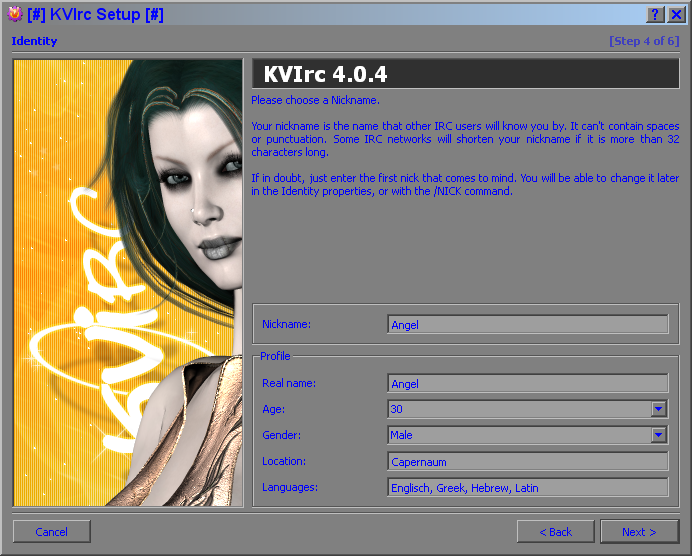
Step 13: Identity paperwork, make
your signature and click
Next >. |
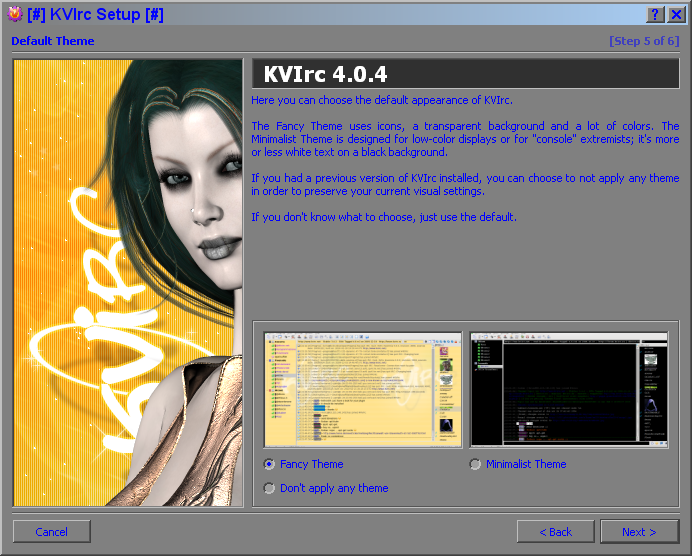
Step 14: KVIrc
has a nice preconfigured theme, but if you are fussy and like
black backgrounds set it to a minimal theme or keep it nerdy and
configure it by your own (i'll show a bit how to do later). I recommend
to use the fancy theme because KVIrc has bombastic extent settings,
beginners are quick overwhelmed.Click
Next >. |
|
Step 15: Well done click Finish.
 |
| End of Part 2. |
<<< Back | Home | Next >>> |